I struggled calibrating the ESCs using the steps in the video for quite sometime, till I was reading the forums and found you can use mission planner (MP), I’m pretty sure the calibration went correctly because I heard the sequence of beeps like in the course video (done via the radio control). However when I pushed up on the throttle the motors did not spin. Need some guidance here, been trying to build this drone for an embarassingly long time. I have receiver binded as well, did not put the GPS yet (don’t think it’s necessary for this part).
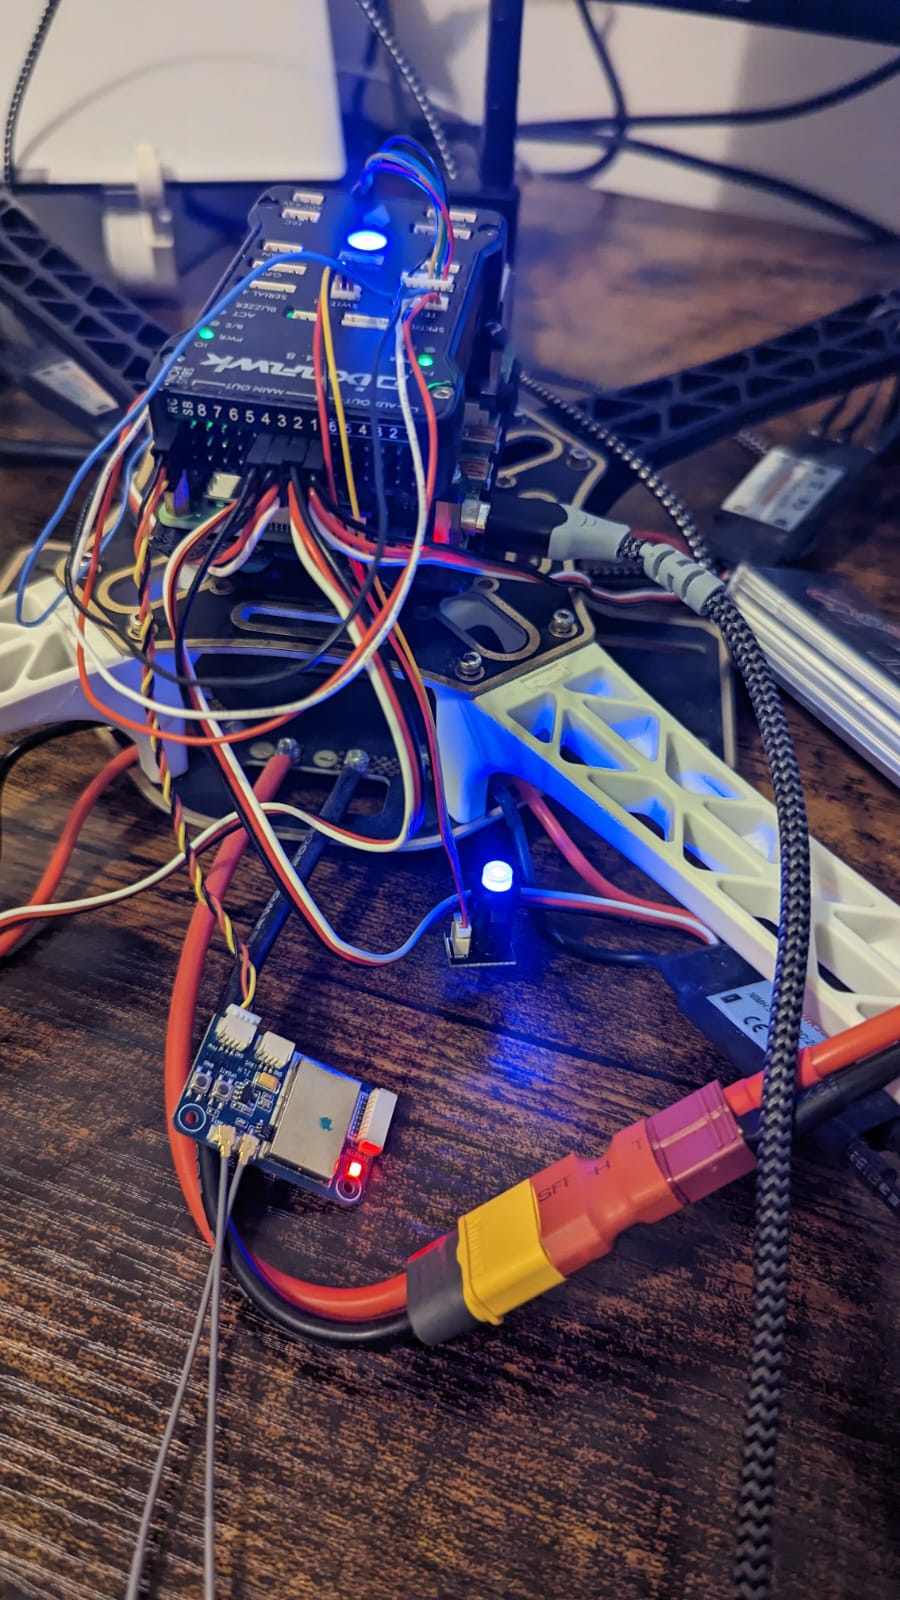
Here’s a picture of the drone build thus far. I have a usb-c connected since I was getting some low voltage RX warning on my radio controller, might need to get new batteries.
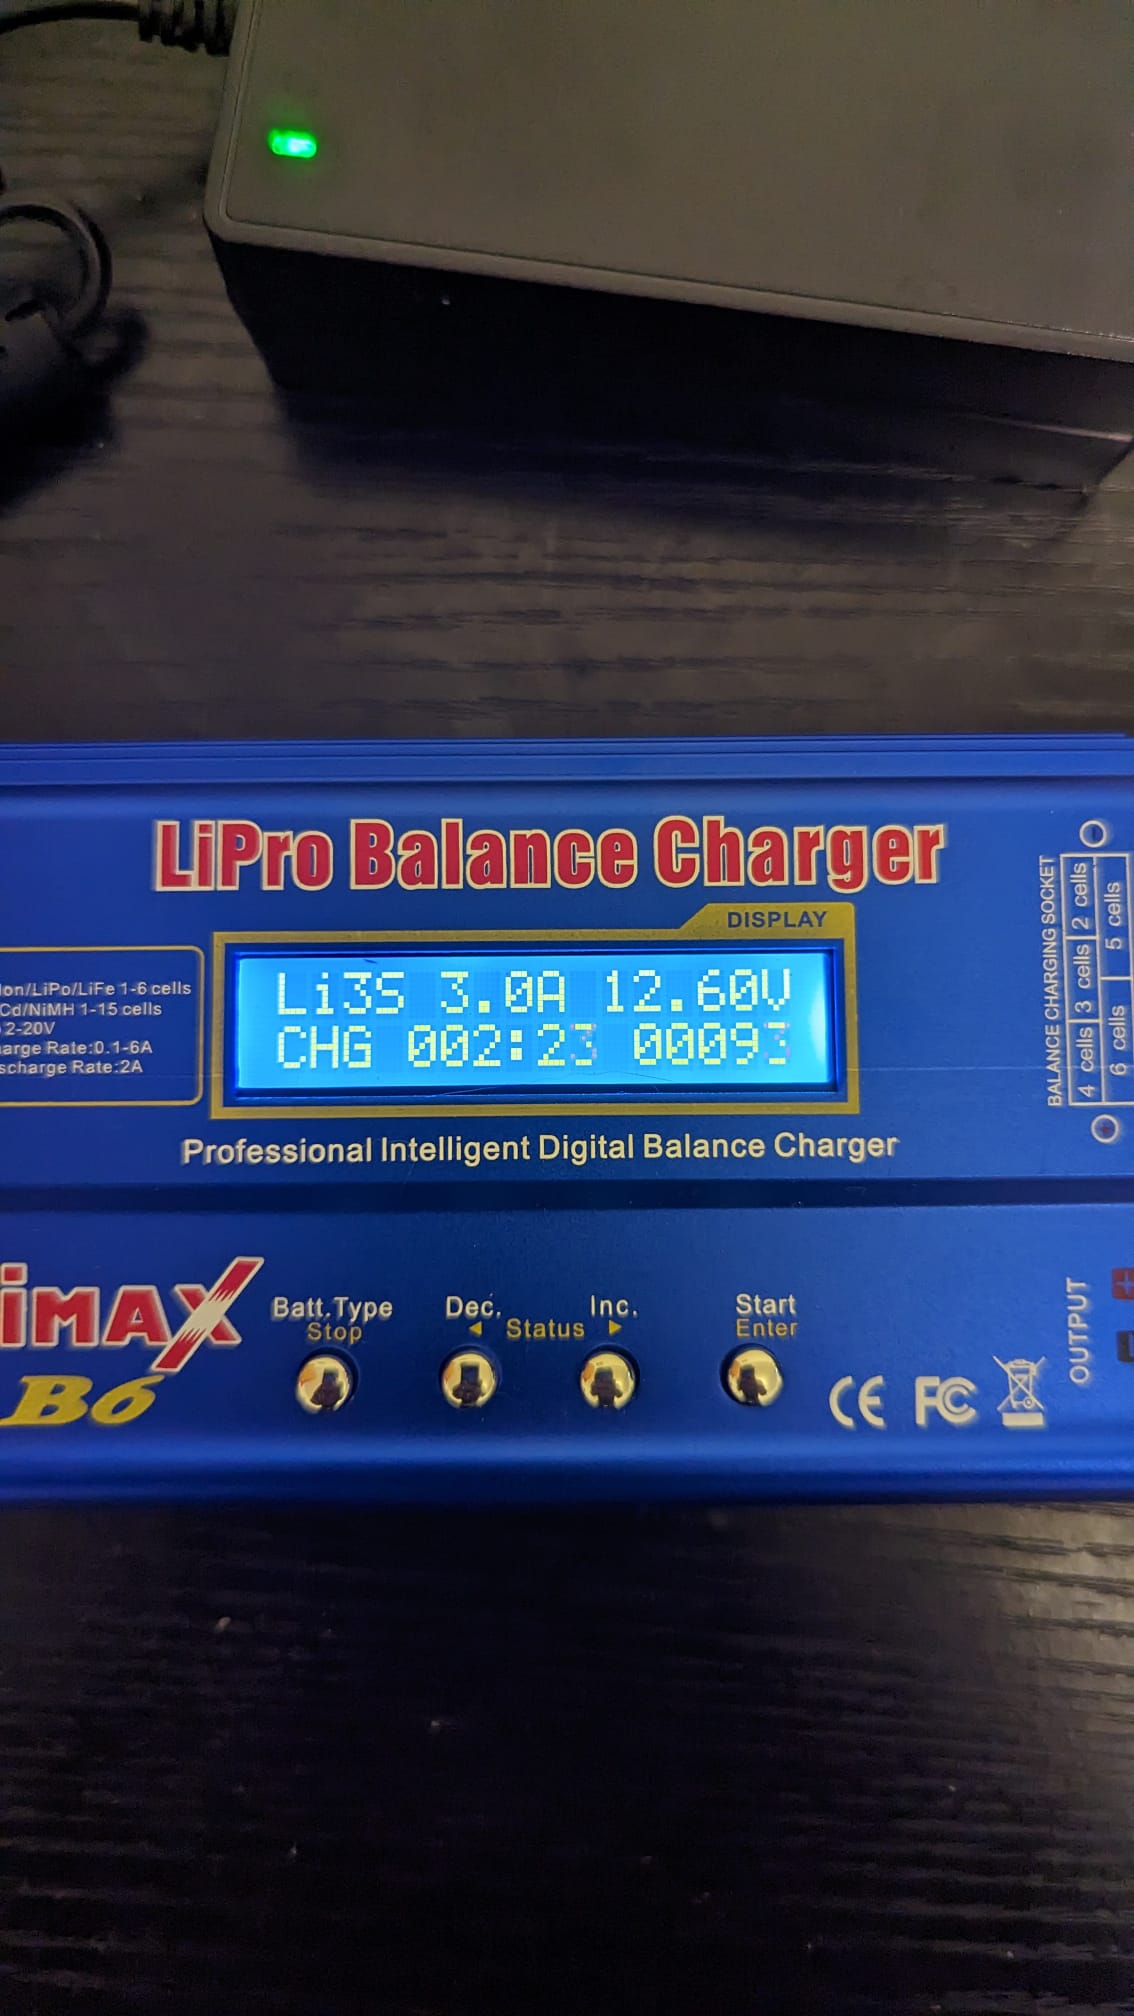
Finally getting back into this after some time, thanks for the article! I tried charing my battery and I think I charged it to full but I’m still receving the same low receiver warning from my radio controller. I’m not sure if my battery is faulty or something is not calibrated right. Could you try to help me deduce what I should do next based on the picture of the reading from my battery charger? I had the balance charge connector connected to the batter charger as well that’s not visible in the picture (If im getting the name correct, based on your previous post..that white clip thingy). The battery is a GoldBat LiPO battery, 3000mAh, 30C, 3S 11.1V, 33.30WH. I will look into the battery tester, I’m guessing I may need to get a new a battery?
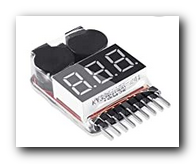
I don’t have that charger, but it should have a setting to view the battery voltage, which I don’t think is what is showing in the image? Or get one of those cheap batt testers I mentioned.
I also don’t use that transmitter controller, but I see in the manual, section ‘8.3 RX battery’, you can set the voltage level when it alarms. Perhaps check that and adjust if needed to somewhere near 3.6v/cell. The battery type/brand is ok, and I can’t say that this battery is bad if it shows full charge (~12-12.5v for 3S), but I would invest in more batteries so you always can swap out another when one ‘runs dry’ in the field. No fun to drive out somewhere to fly for just 15 minutes! I would also invest in more than one receiver in case that is ever a problem. Most drone builders have multiple parts on hand. Other than that it seems you are doing things correctly.
Also, I hope you are using the fireproof bag when charging as in the video.
The voltage shown in the image is when the battery is in the middle of charge, I stopped it when it reached 12.6V which I think is full for 3 cells (if I’m correct). Which manual are you referring to, my radio controller is a FS-i6X. I guess I will have to play around with parts. I will def make sure I use the fireproof bag going forward. Thanks!
The charger should automatically stop and you should not need to manually stop it. Check its manual.
Yes, I was looking at the FS-i6 instruction manual.
In one of the videos about calibrating there is an instruction to use the RC to calibrate the motors. From memory it goes a bit like this…
remove all power from the drone and PROPS
Start the RC, put all switched into high
Leave the switches and RC in power/
Add the battery to the drone
press the on switch (drine)
once you have a solid light.
Remove the battery from the drone
Go to the RC and lower the left throttle switch Do nothing more than that for now
plug in the battery to the drone
Now very slightly raise the throttle on the RC (Left stick) until you see the motors spin up
Check their direction of spin.
If number 1 and three are anti clockwise and 2 and 4 are clockwise then that’s it. DONE
Unfortunately those steps didn’t workout for me, I used mission planner and heard that set of beeps which I think refers to the motors being calibrated
have the correct motors in the correct locations with the correct props
correctly wired the drone and double check soldering.
run through all the calibrations
Use a VOM for testing conductivity and voltages.
Sometimes the copper bullet connectors don’t make perfect contact so you might need to scrape the surfaces